Mastering Character topology: From 2D Concept to 3D Animation
When entering the world of animation and character design, one more crucial aspect is how to translate a 2D concept into a 3D model, which will serve as the perfect doll for animation.
The 3D model needs to be built with the understanding of how all its details will work for facial expressions and body poses.
We can sculpt our model to work for still images with pre-defined expressions, which is a fairly simple task. The real challenge comes when we need to create a neutral pose and sculpt all the facial details that can be later transformed into different expressions without looking creepy.
Eyelids, mouths, and noses are the most important details that need to be sculpted correctly.
Once this step is complete, we need to retopologize the model. This means creating a low-poly version by redefining the edge flow. This will make things easier for riggers to create a flexible setup and for animators to bring the character to life.
It might not seem too complicated at first, right? But if you’re just starting out, it can be quite tough without experience.
Here’s how you can break down this process into smaller steps after you’ve already created a good character model but are struggling to grasp what comes next:
- Understanding how to refine and adjust your sculpt for animation purposes
- Learning the theory of topology (edge flow for animation)
- Choosing the right tools and understanding the retopology process
- Creating morph targets and testing expressions
Understand topology for animation.
Let’s start from the beginning. To understand how your sculpted model will work for animation, you need to grasp these key points before diving into creating good topology for a bad model, or making blend shapes and expressions. Then, you’ll finally understand how to sculpt your model perfectly for the later steps.
It’s like the classic chicken-or-egg problem, but don’t worry. This is a normal part of the learning process. Repeat the process over and over to naturally start understanding the problem and gain the knowledge to solve it, even if the problem itself changes each time.
For the second step, I highly recommend checking out a fantastic book by Brian Tindall - “The Art of Moving Points”, a Pixar/Disney character designer and supervisor with 18 years of animation experience. He truly understands the process and can teach you the right things. Book page link:
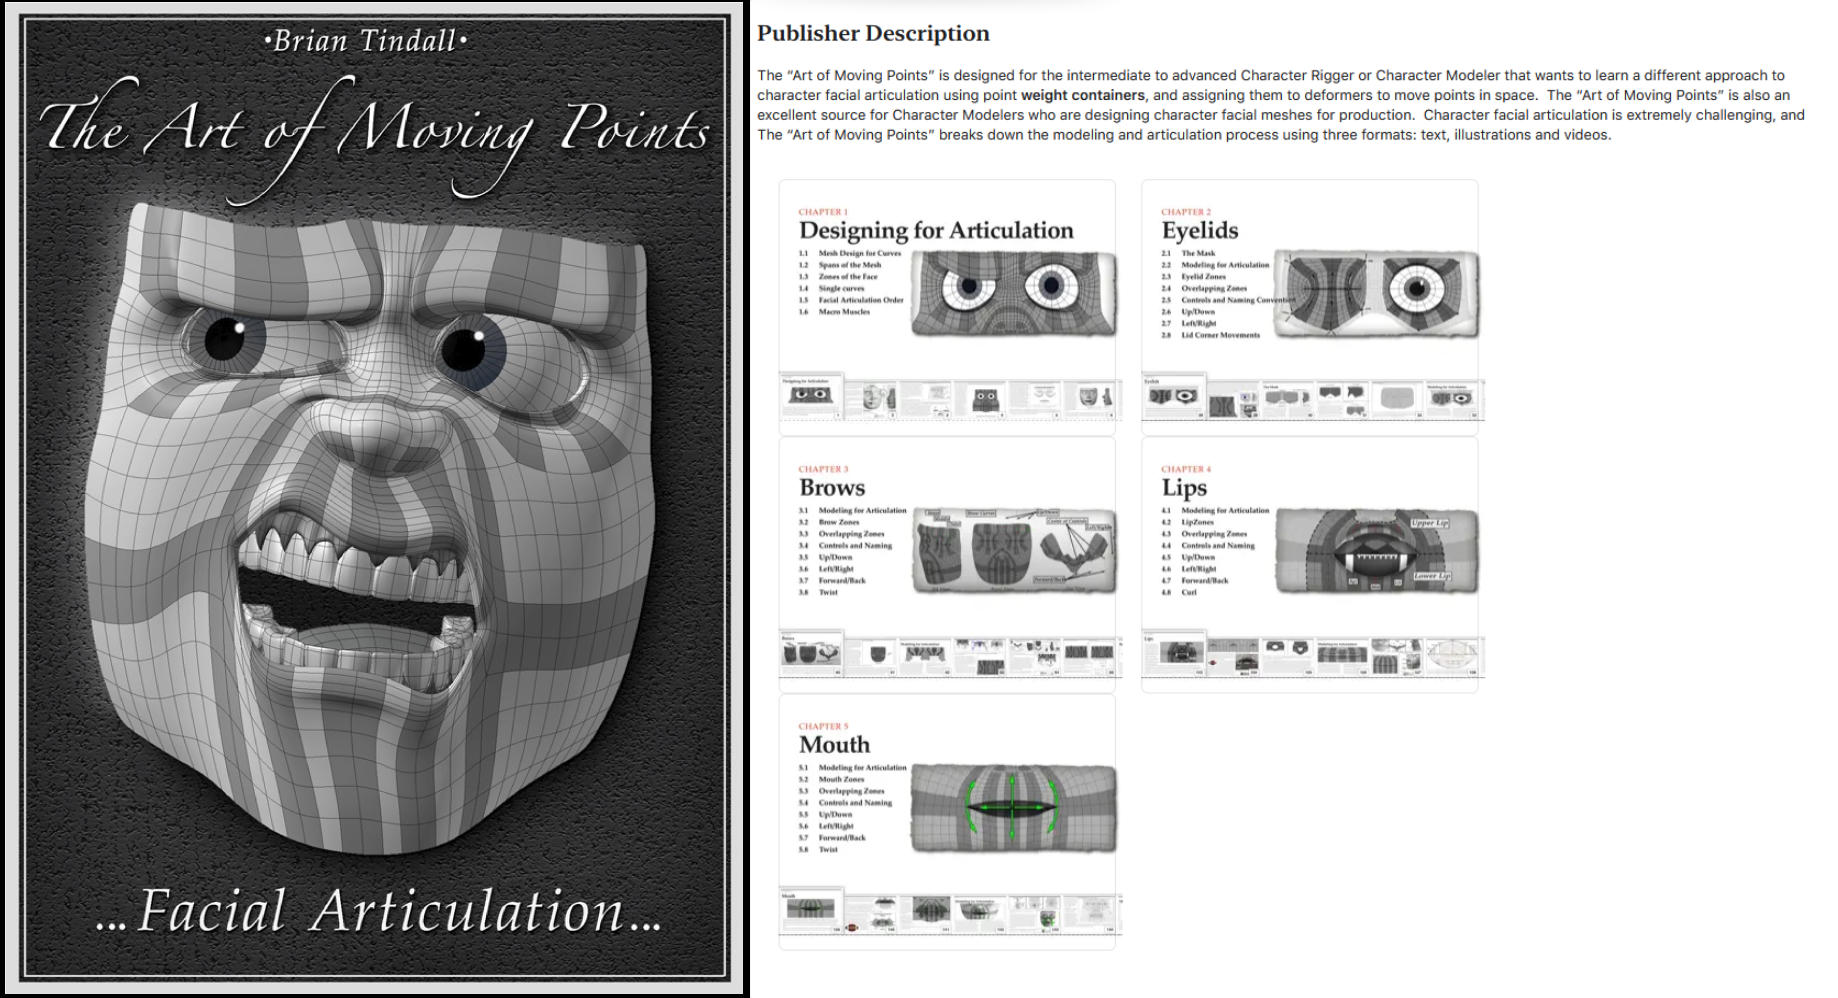
He created a massive interactive book with almost 300 pages where he shares his expertise and gives you a solid foundation in the topic. I honestly can’t think of a better resource for character topology in animation.
Moving on to the next steps of practical retopology, blend shape creation, and expression implementation, I recommend the Blender Studio course “Sculpt and Retopology for Animation.” This course is based on the book mentioned earlier and will teach you how to create a model that’s perfect for rigging and animation.
Choose the right tools for the smoothest workflow.
This course is well-structured, follows the animation pipeline, and explains complex things in a clear and simple way. Course page link:
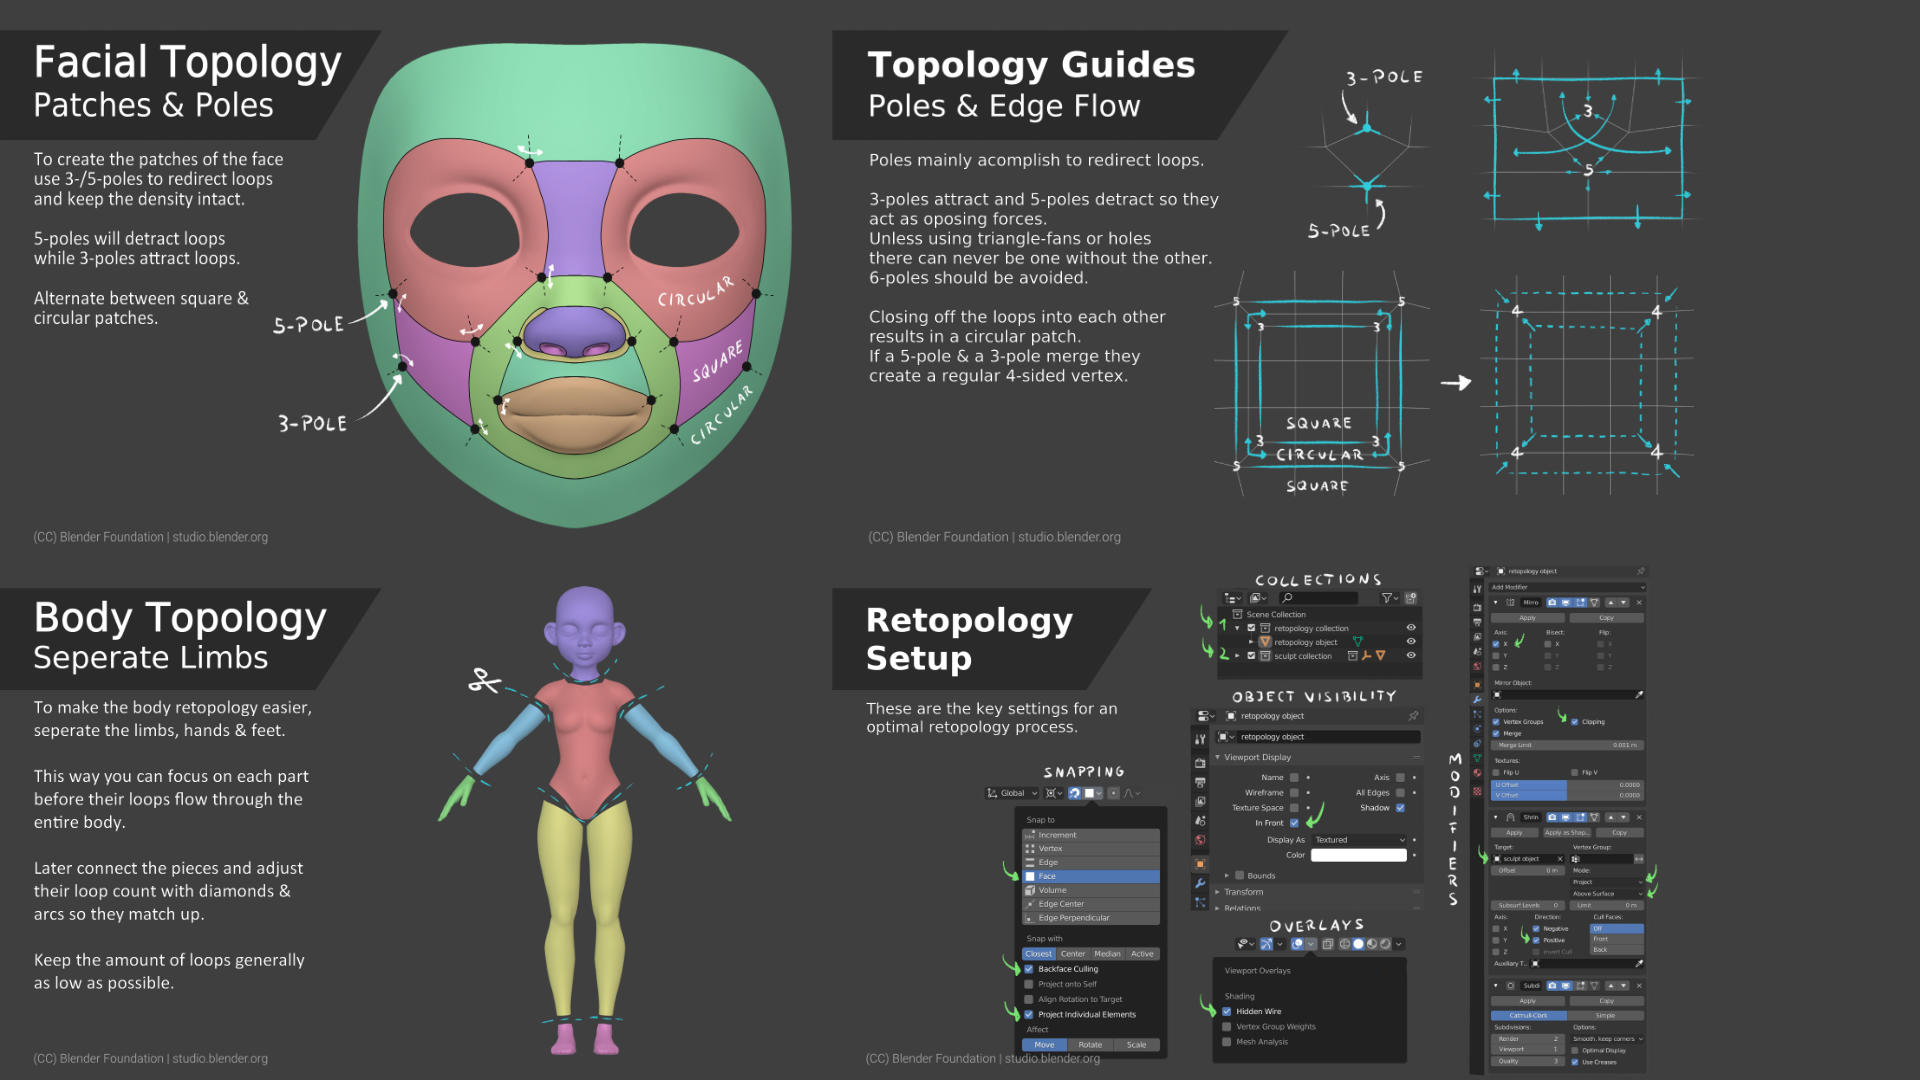
You’ll likely find that Blender is a very powerful and handy tool for these tasks. Honestly, no other 3D software offers the same level of strength and efficiency for these specific jobs. The one challenge you might face is annotations.
Mastering anatomy for 3d sculptors.
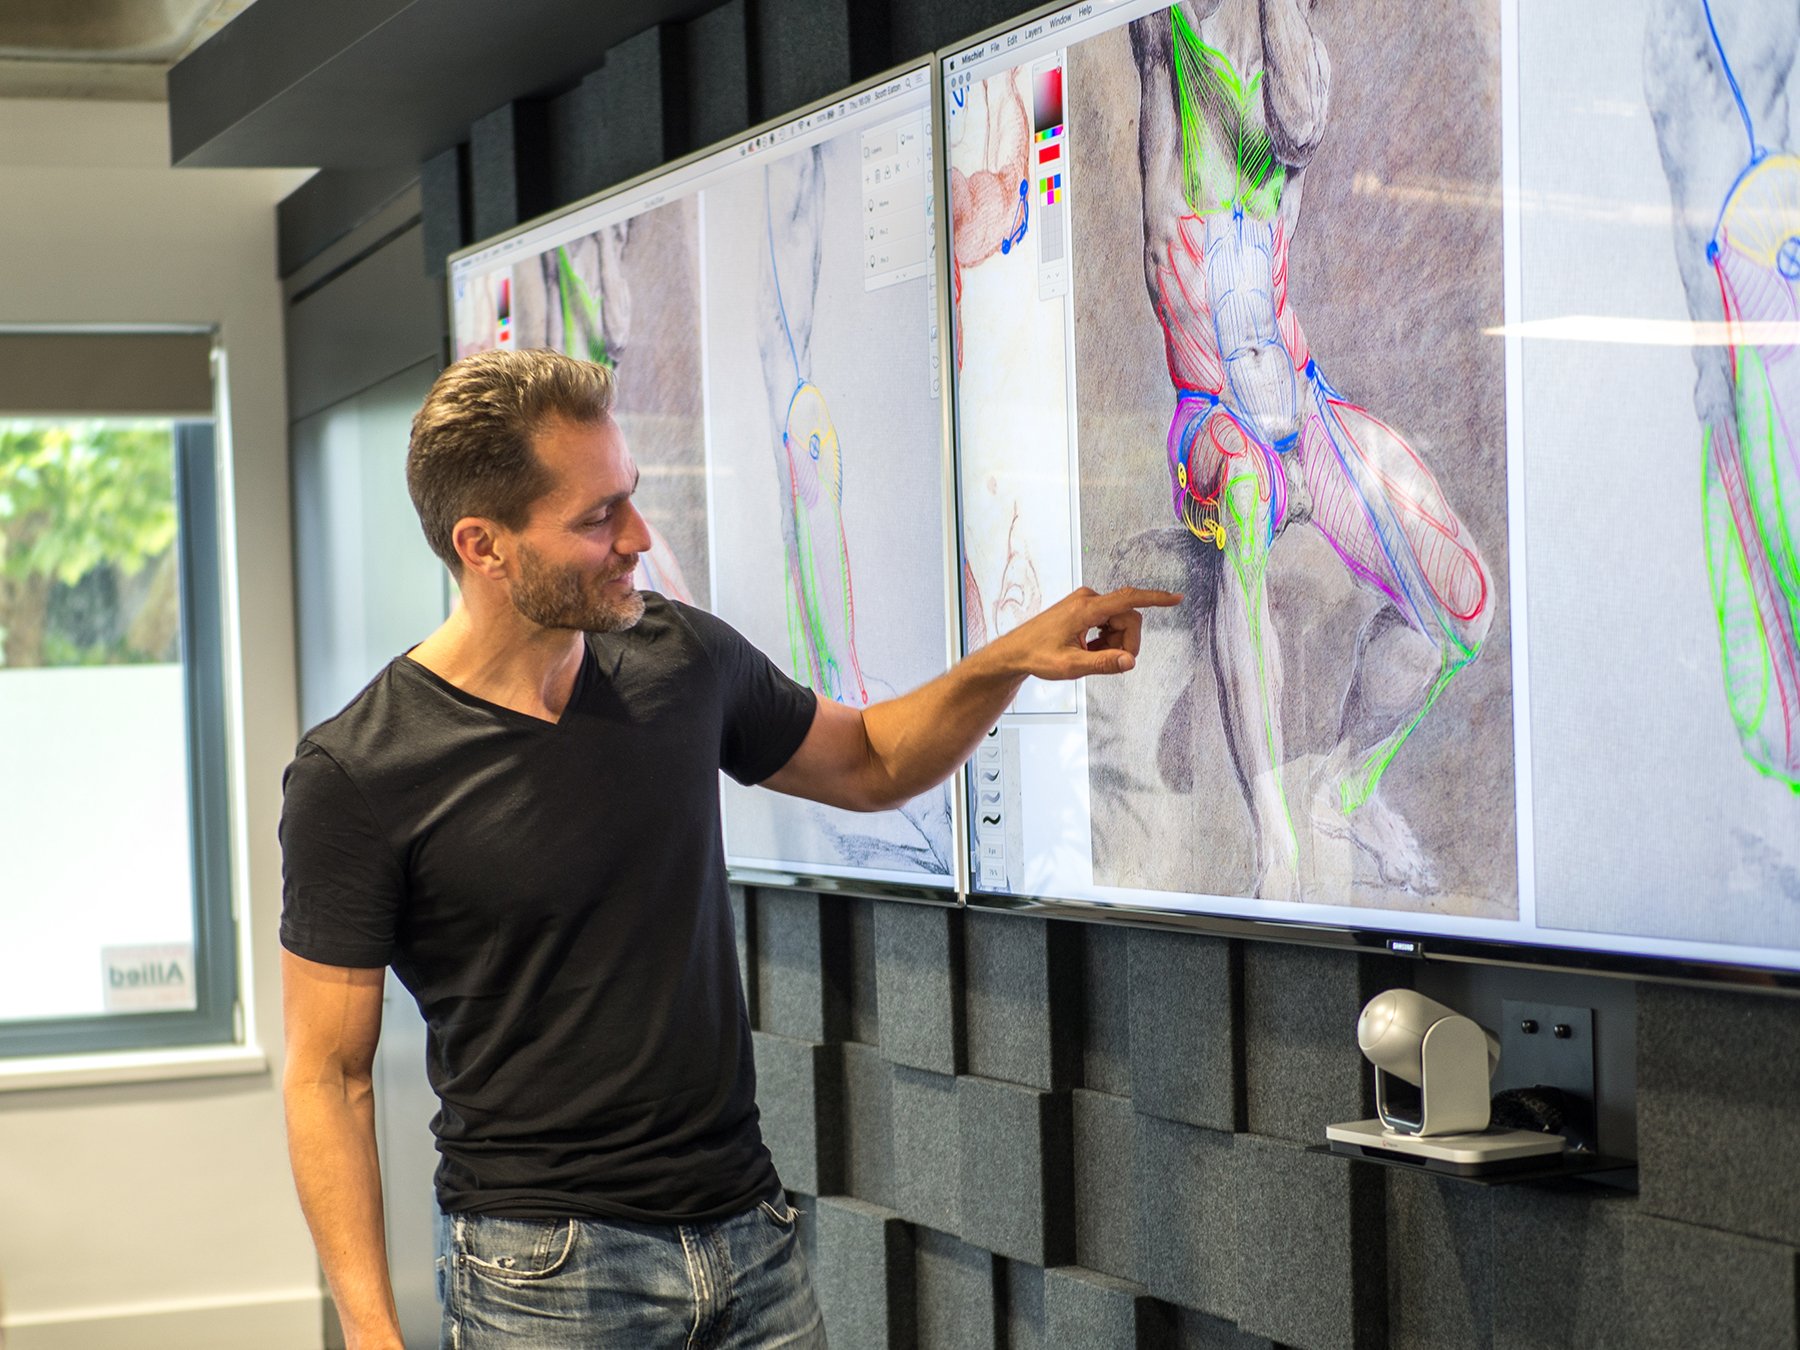
Additionally, if you’re interested in studying anatomy for sculptors, I would absolutely recommend Scot Eaton’s course. He’s simply the best in these days. I might be a bit biased here, but I don’t think there’s any room for argument. Sorry!
All of these resources will equip you with the right knowledge about the animation pipeline, help you create perfect topology for animation needs, and save you from spending thousands on expensive courses that might be designed more for making money than providing actual knowledge. Start with these resources, practice a lot, and you’ll definitely reach your goal.
